Plan your first week
Groups, the Calendar and drag-to-reschedule. Plan your first week.
Four steps take a new account to a scheduled post: create a workspace, connect one account, upload one file, publish or schedule. No card is needed - the Free plan has 2 accounts, 20 scheduled posts a month and 2 GB of storage for as long as you use it. Every step below happens in the dashboard at app.dropslate.top; the API and an MCP agent do the same things through the same server.
Create a workspace. Open app.dropslate.top/signup and sign up with an email and password, or Continue with Google. A workspace is created for you and you are its owner; its name and time zone are editable in Settings → Workspace at any time. Everything else - accounts, media, posts, members - belongs to this workspace, and nothing is shared between workspaces.
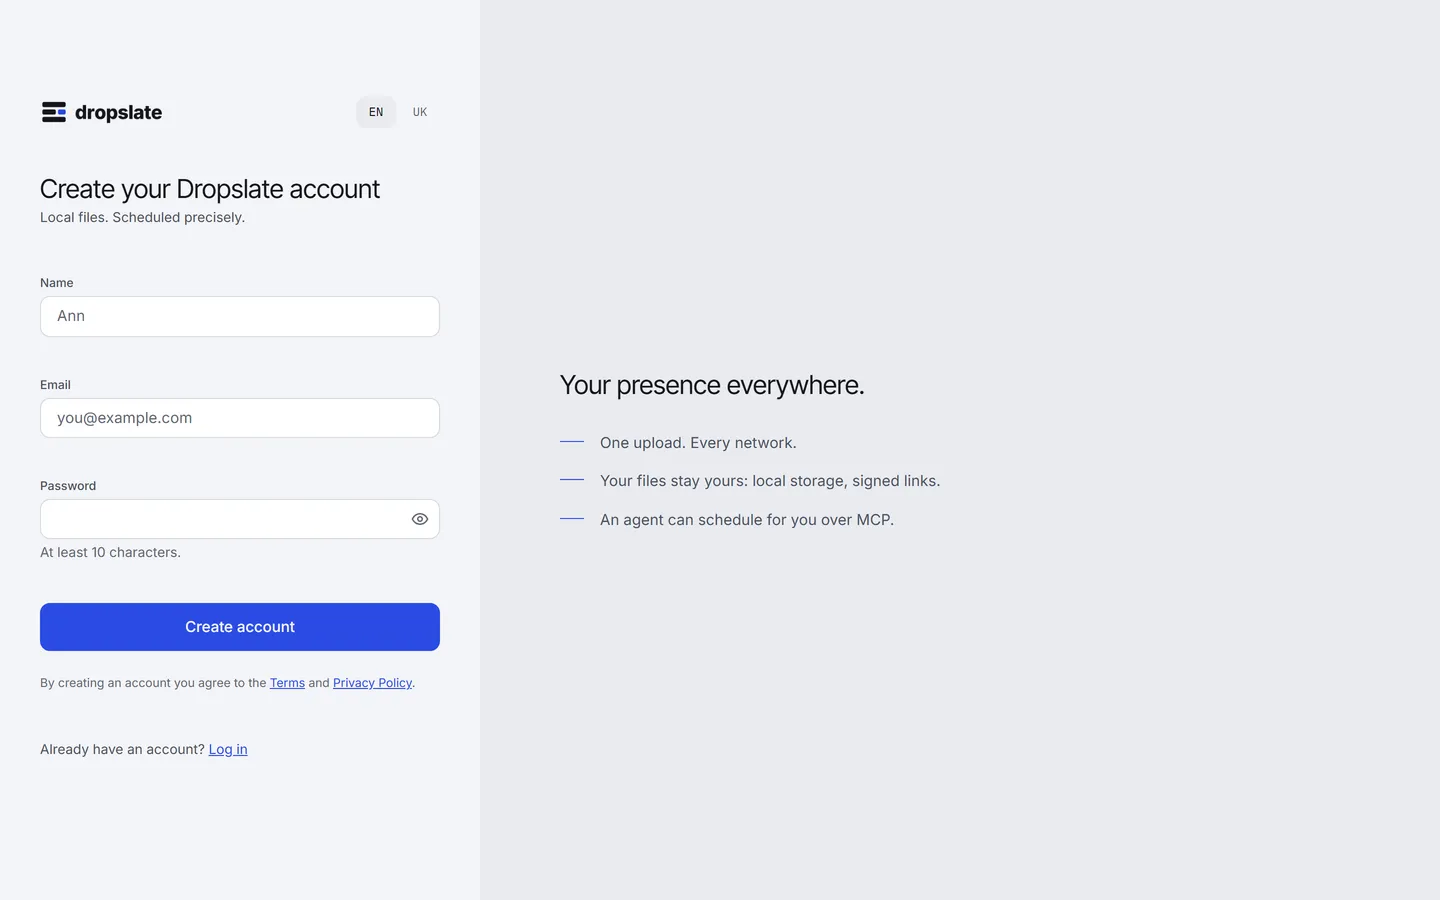
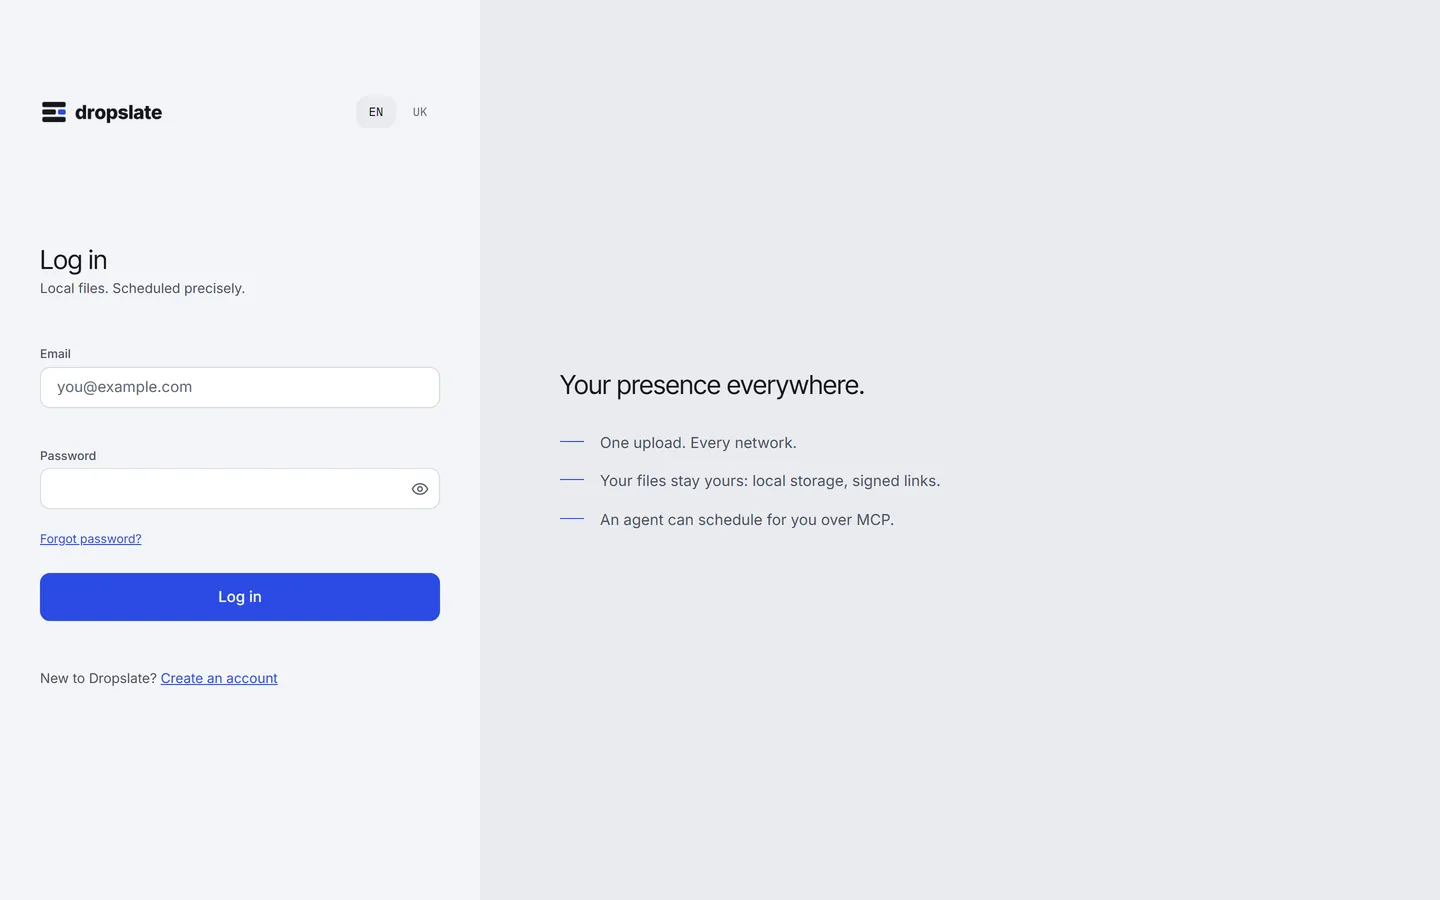
Coming back later, you sign in on the same kind of page - email and password, or Google.
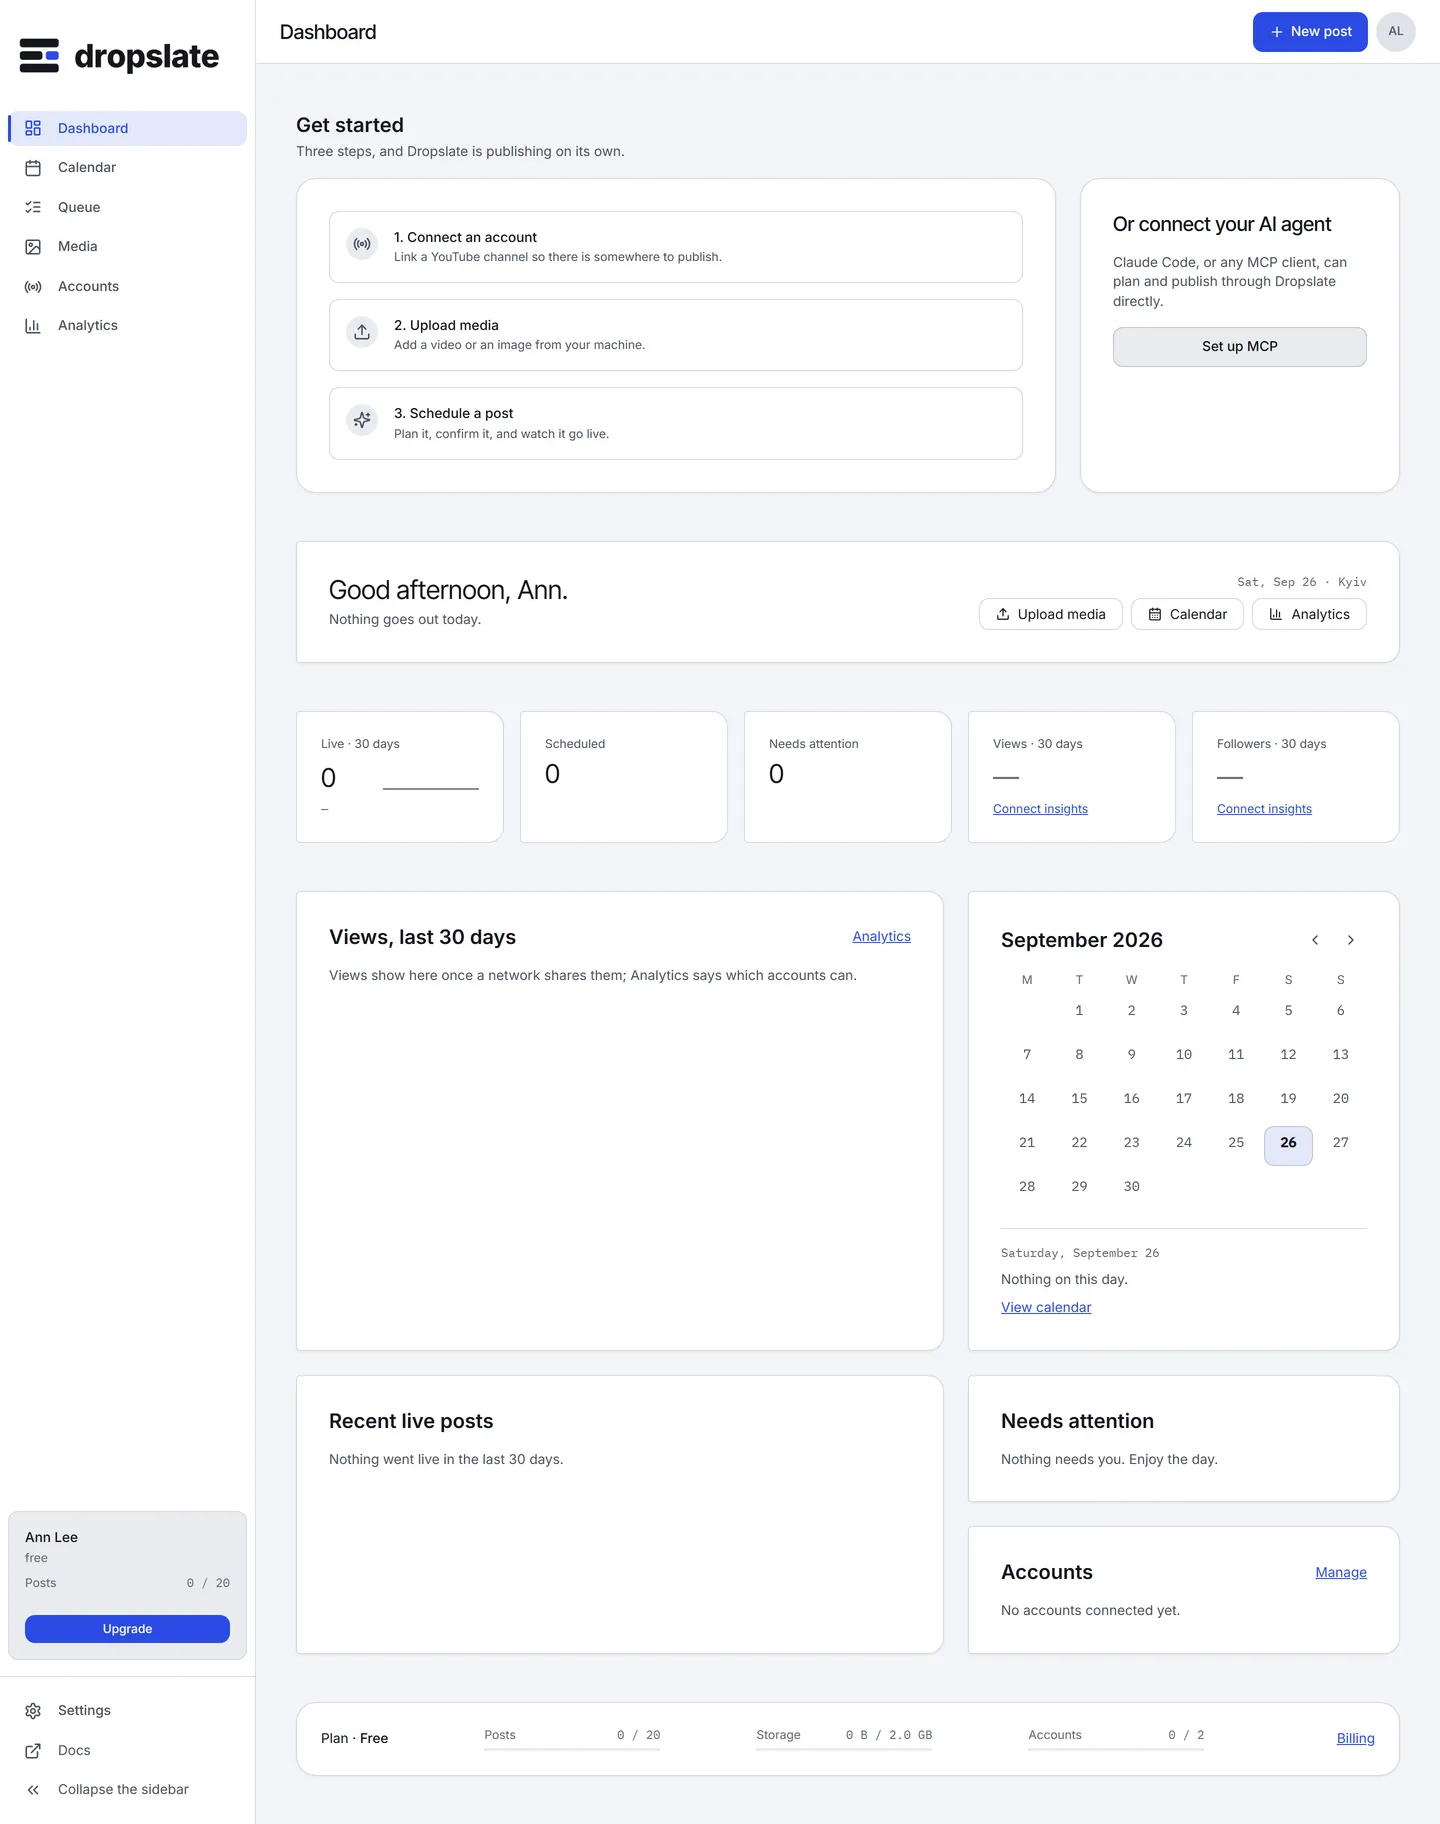
You land on the dashboard with a Get started checklist. It stays on top until your first post goes live.
Connect your first account. Go to Accounts and pick a network under Networks. You are sent to the network’s own sign-in and consent screen - you approve Dropslate there, never by giving it a password - and come back with the channel listed under Your channels with the status Connected.
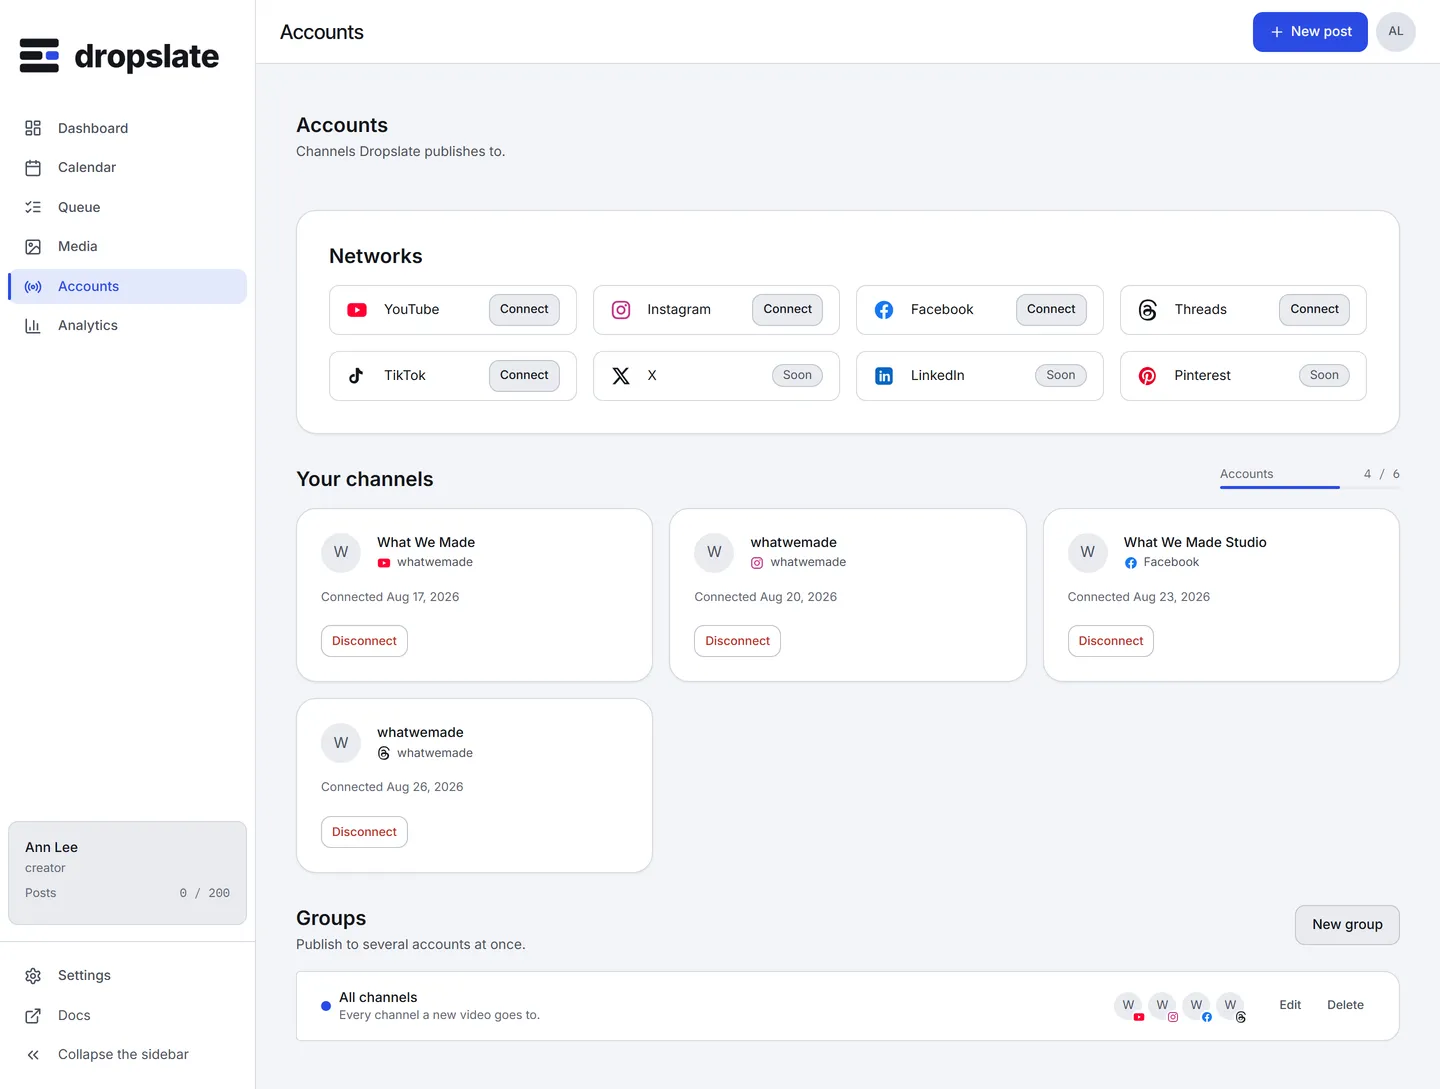
Details for each network - account type, permissions asked, what can go wrong - are on its page under Connect accounts.
Upload a file. Open Media and drop a file on the page, or click Upload. The file goes uploading → processing → ready; a video gets its duration and a thumbnail during processing. You can also upload from inside Compose in the next step. Images do not count toward your monthly posts; every file counts toward storage. See Media library.
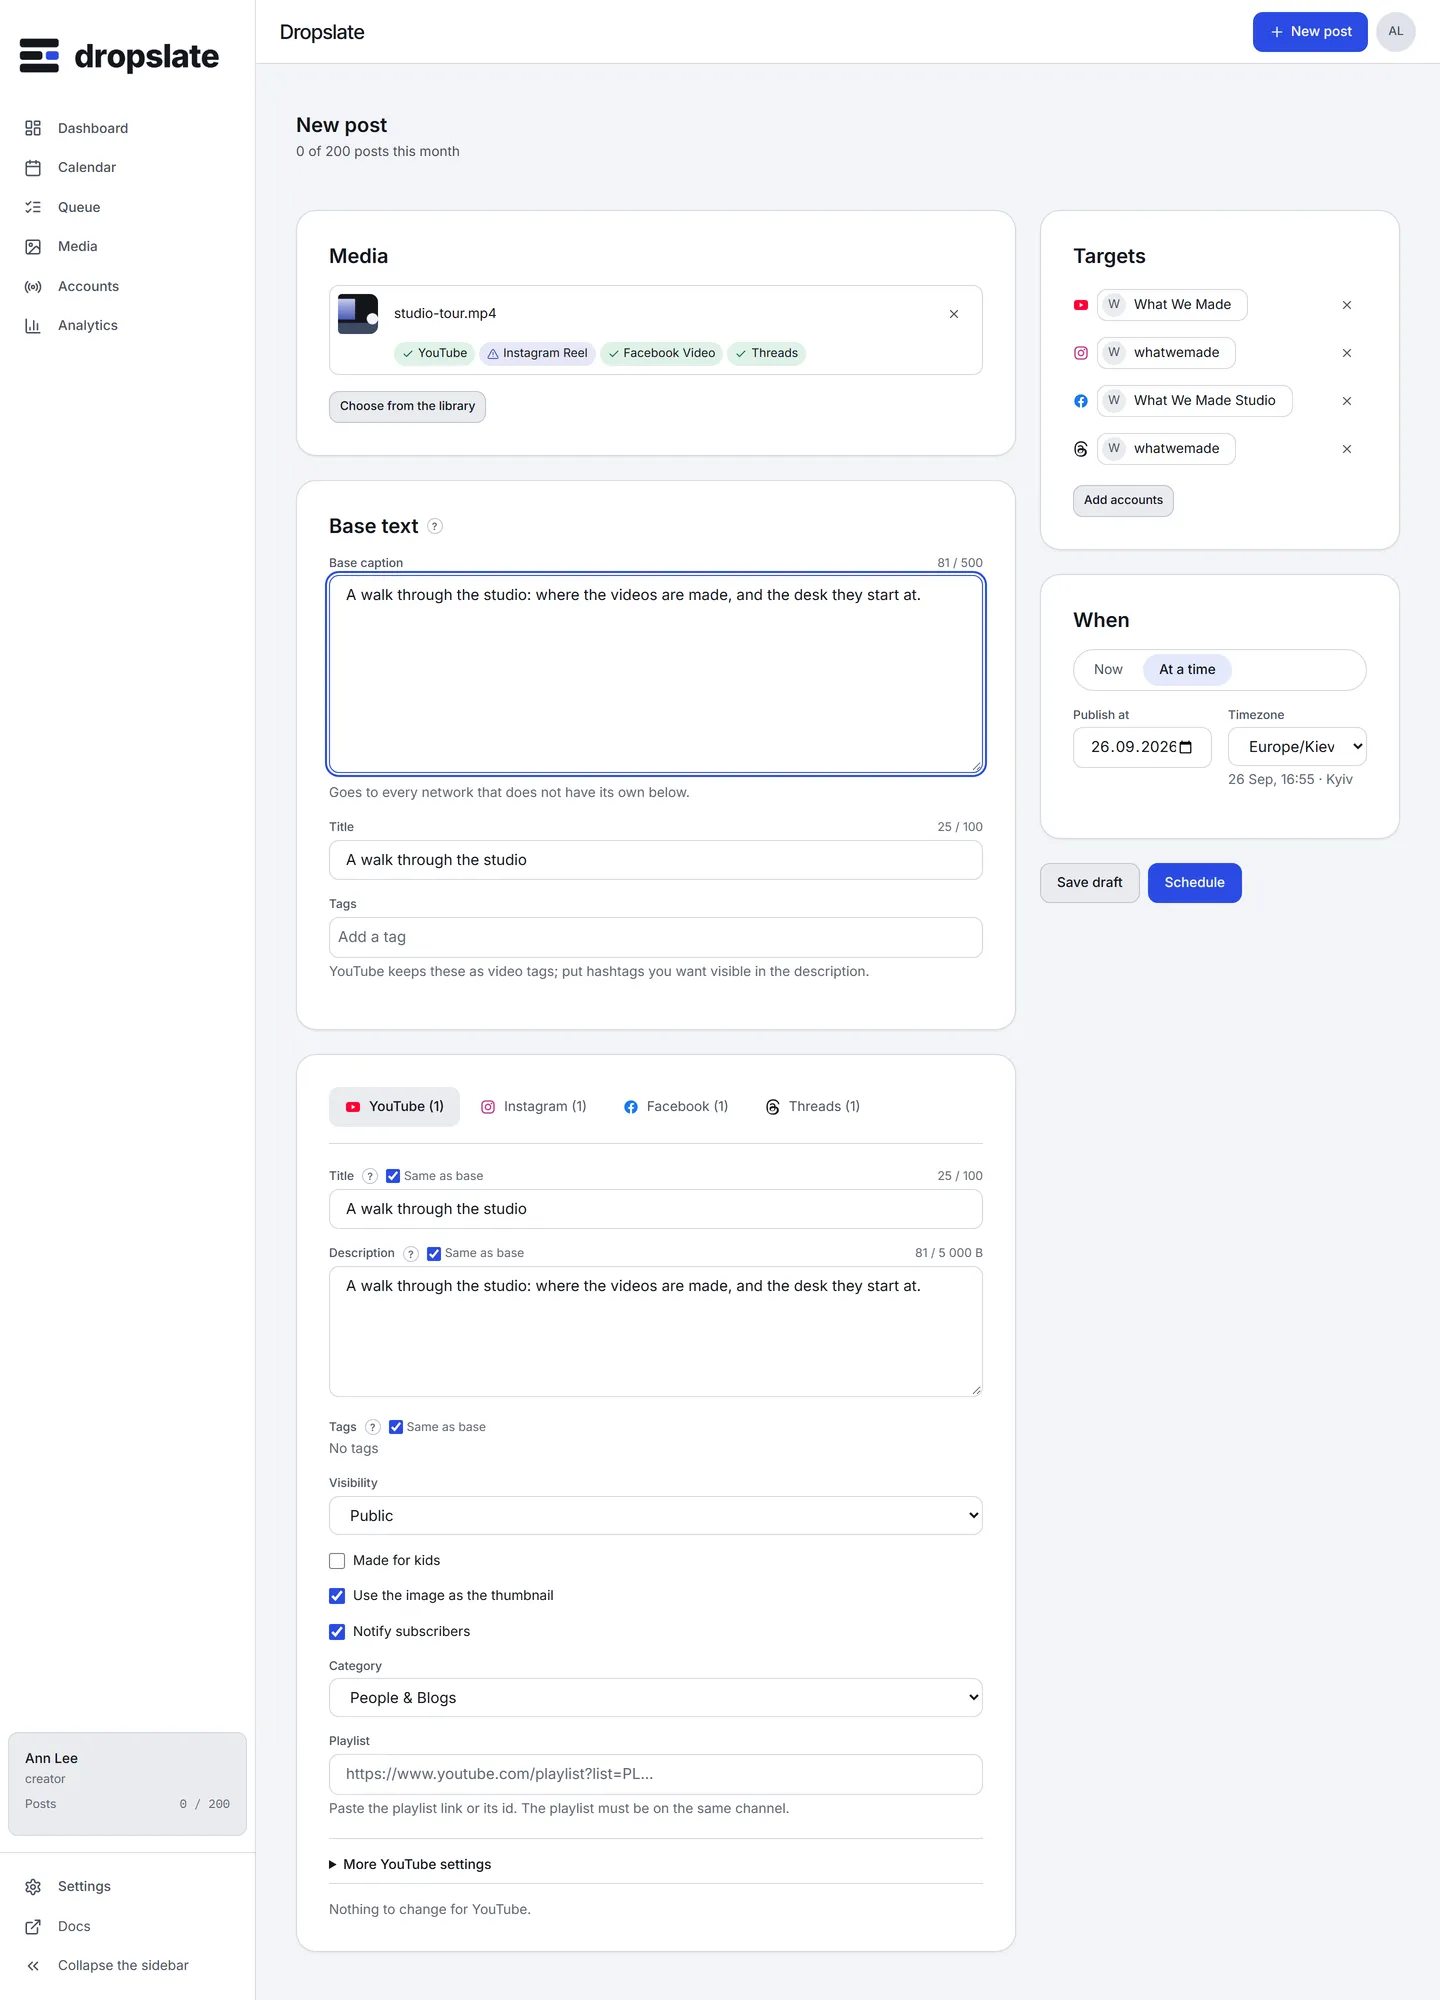
Publish or schedule. Click New post (top right, on every screen). Choose the file, write the base caption, pick the account under Targets, and under When choose Now or a date and time in your workspace’s time zone. Each network you target gets a tab with only the fields it accepts - a YouTube title, an Instagram content type, a Threads topic.
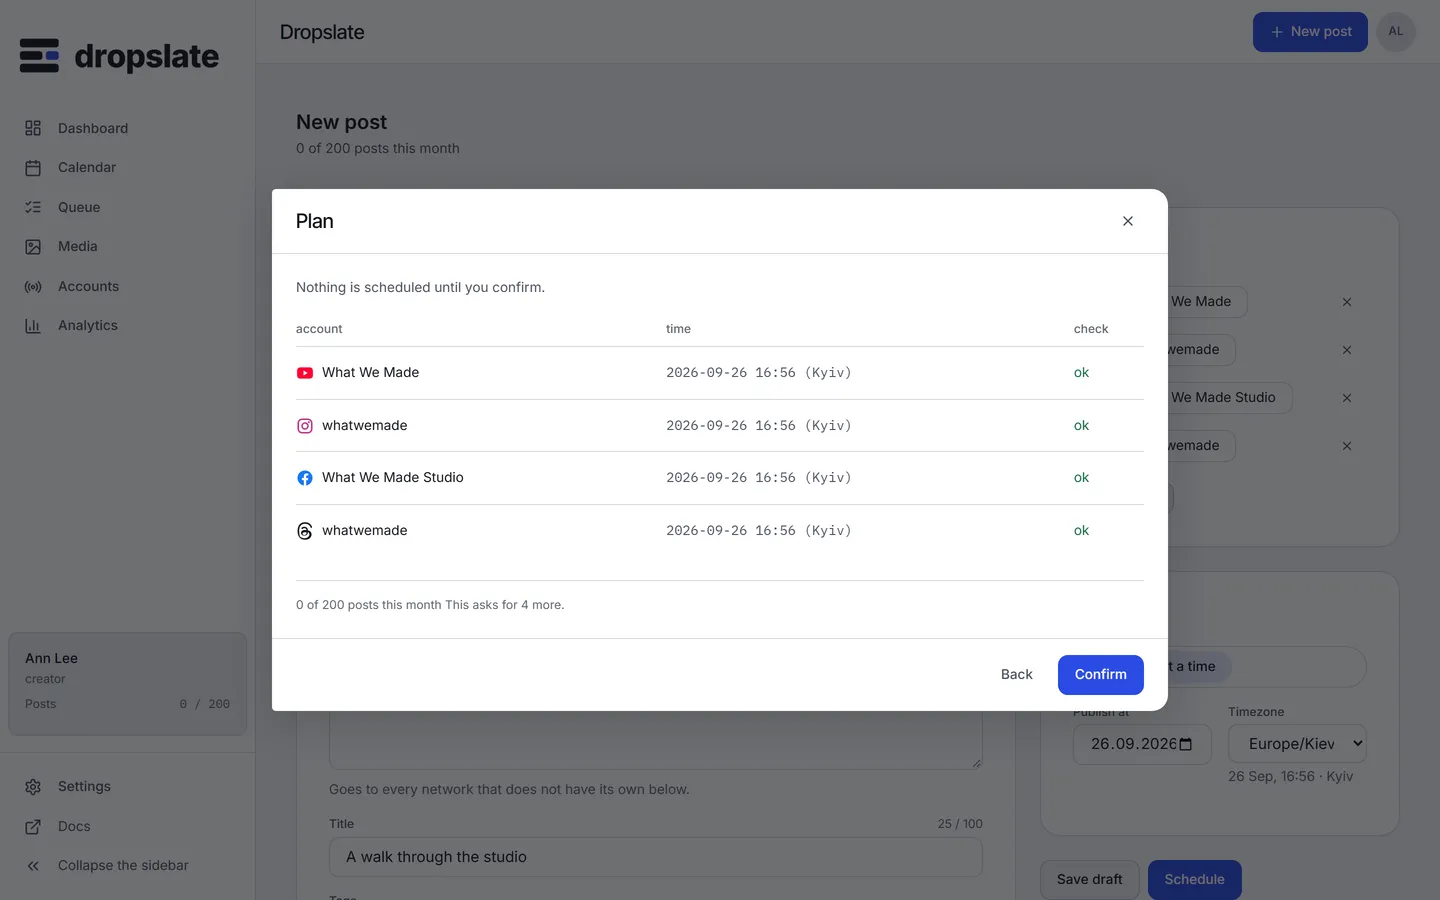
Click Schedule. Dropslate shows the plan: one row per account with the network, the time and a check. Nothing is created yet. Click Confirm.
The post appears in Queue with the status queued and on Calendar at its slot. At the scheduled time the worker sends it through the network’s API. The post becomes live with a link to the network’s own copy, or failed with the network’s response, verbatim, and a Retry button. Those are the only four states - Post statuses explains each one.
| Error | Cause | Fix |
|---|---|---|
| Sign-up refused: the account already exists | An account exists for that email. | Sign in instead, or use Continue with Google with the same email - the two are linked. |
Redirected back to Accounts with ?connect=refused |
You declined the network’s consent screen, or the network refused; reason carries its own word for why. |
Try again and approve it; check the network’s page under Connect accounts for what it requires. |
A row in the plan shows caption_too_long, aspect_unsupported or another check |
The text or the file is outside that network’s limit. | Fix the field the row points at; the limits are in Media requirements. |
quota_exceeded when scheduling |
The plan’s monthly post limit is reached. | Wait for next month, or upgrade - Plans & pricing. |
The post shows failed after its time |
The network rejected the request at send time. | Open the post, read the network’s message, fix the cause, click Retry - Why did my post fail? |
Plan your first week
Groups, the Calendar and drag-to-reschedule. Plan your first week.
Connect an AI agent
Claude, ChatGPT or Cursor plan and publish under the same rules. MCP overview.
Publish through the API
Key, upload, plan, create, poll - in five minutes. API quickstart.
Media requirements
Formats, sizes, durations and text limits, per network. Media requirements.